

READY TO START?
YOU WILL NEED TO HAVE
ADVANCED KNOWLEDGE OF PSP AND ANIMATION SHOP (AS).
THANK YOU TO THE TALENTED CREATORS OF MY SUPPLIES
SUPPLIES NEEDED:
You will need a tube of choice. I'm using the wonderful artwork of Joel Adams.
His artwork can be seen at http://www.lilz.net/. You must purchase a
license to use his work, you can purchase it at http://www.cilm.com/
You will also need a red, white, and blue scrap kit. The one I'm using is by the talented Monti
called Monti's Stars and Stripes Scrap Kit. You can find it HERE
A MASK OF CHOICE
AND MY SUPPLIES: HERE
WRITTEN IN PSP X
ANIMATION SHOP 3
Open all supplies in PSP except for the fireworks.
Choose 2 papers from the kit. Copy and paste one of your papers as a new layer
into your canvas. Apply your mask layer. APPLY YOUR MASK LAYER. Merge group.
Minimize your second paper by 45%. Click on your materials pallet and select this paper
as your foreground ANGEL 0 SCALE 100. Select black as your background color. Select your preset
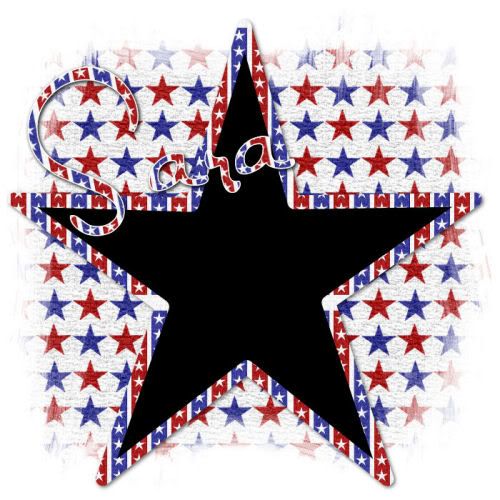
tools star shape, set the stroke width to 20 and draw out a star that almost fills your canvas.
Add a drop shadow of choice.
Set your forground color to white and your background color to the paper you just used for your star
and add the name. Use the same drop shadow. Duplicate and hide all but the two name layers. merge visable. unhide all.
This is going to sound really crazy, but it's necessary. Copy and paste your tube as a new layer
If your tube fits just fine where you want it to go, then just delete the layer. If it's too big or
too small, resize it in the canvas and place it where you want it to go, make sure your name is positioned
in the spot you want it too. Once you have resized (if needed) then right click on your tube layer, copy, and
paste as a new image, then delete your tube layer and your original tube, keeping the newly resized one.
This is done for sizing purposes. You'll understand why later.
You should now only have your white background, your star, name and mask layers.
Then add the copyrights.
Click on your canvas and copy merged.
Right click and paste it as a new animation in animation shop. Open all your fireworks in animation shop.
Duplicated your canvas into 20 frames.
Click on your first firework in the first frame and hit CTRL A on your keyboard to select all then CTRL C to
copy all and then click on your canvas 1st frame. Hit CTRL A to select all and CTRL E to paste and position
your firework where you want it to go in your canvas then click your mouse to paste it in that position. Do
the rest of the fireworks like this and make sure you PLAY YOUR ANIMATION often to check your positions.
If you don't like the position of your firework click on the undo button and try again. You really can not
do this part of the tut wrong becuase it's all about personal preference you can even hit CTRL A/CTRL M to
change the direction of the firework if you want to.
Once you have all your fireworks in place, go back to PSP,copy and paste your tube as a new animation in animation
shop. Duplicate it to 20 frames and do the same CTRL A/CTRL C & CTRL A/CTRL E like you did with your fireworks and
and place your tube where you want it to go in your canvase. Preview your animation.
It was hard to get proper screen shots of the above actions, so I hope you can visualize what I mean. You can always contact me if you have any questions.
Resize your animation and save it.
I hope you enjoyed this tut!

written by Merrilee Finney


0 comments:
Post a Comment