

READY TO START?
YOU WILL NEED TO HAVE A WORKING KNOWLEDGE OF PSP AND ANIMATION SHOP (AS).
THANK YOU TO THE TALENTED CREATORS OF MY SUPPLIES
SUPPLIES NEEDED:
Tube of choice. I'm using the wonderful artwork of Suzanne Woolcott. You can find her work on AMI. You will need to purchase a
license to use her work: HERE.
KIT FROM: Dreamer kit by CrazyGirl you can get taggers size at Digital Chaos or Magical Scraps
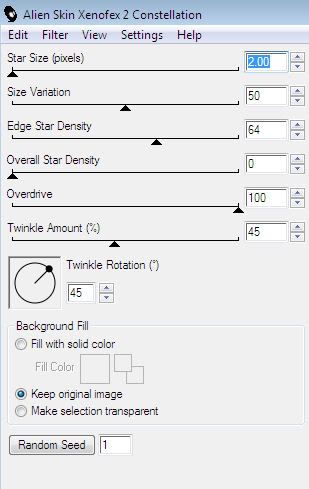
FILTERS: ALIEN SKIN XENOFEX CONSTELLATION.
MASK: I'm using montiblindmask1 offered Here.
FONT: I'm using Harrington get it:Here
WRITTEN IN PSP X
ANIMATION SHOP 3
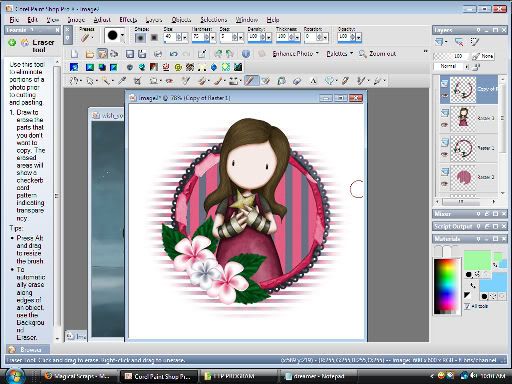
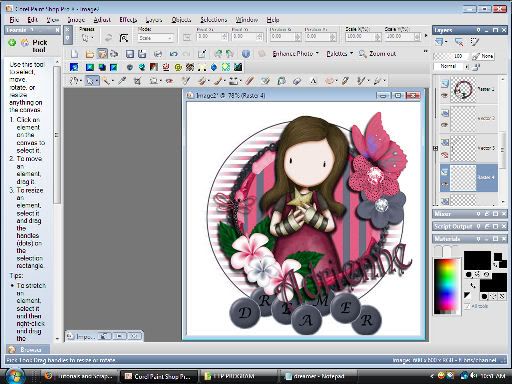
Open a new 600x600 canvas flood filled white.
Select ther round frame and paste it as a new layer
Select a paper from the kit and paste it as a new layer on your canvas. Apply your mask layer.
click on your mask layer in your pallet and merge group.
Now, select the striped paper and paste just below the frame as a new layer. Select your magic wand and activate your frame layer.
click on the inside of your frame with your magic wand. SELECTIONS:MODIFY:EXPAND BY 3. SELECTIONS: INVERT. Click on your striped
paper layer and hit delete on your keyboard. SELCTIONS: SELECT NONE.
Duplicate your frame layer and add your tube layer between them. Position your tube in the frame to your liking and click on the top frame layer.
Grab your eraser tool and erase the top of the frame by her head like so:

Until you get the desired effect:
Select your bottom frame layer again and apply this drop shadow:
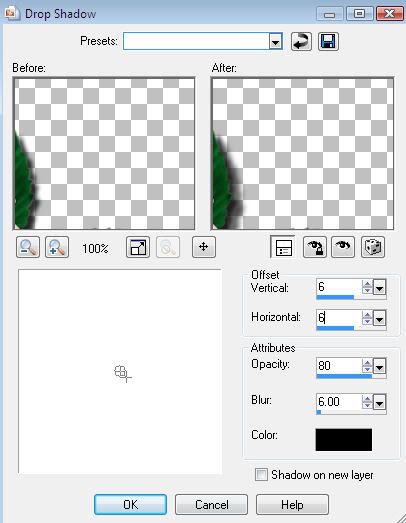
Then click apply this drop shadow:

Add the same drop shadows to your tube layer.
Now add your embellishment from the kit. I chose: the dreamer title, a butterly, dragonfly, 2 flowers, and both jewels. Position them where you want them
or look at mine for guiedance. Hide all but the embellishments your just added to include the dreamer title.
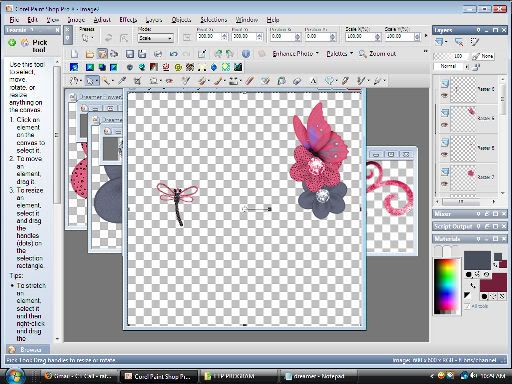
Merge visible and add the drop shadow configuration that comes up when you open it. Unhide all.
Now, hide all but the striped paper layer and dreamer title:
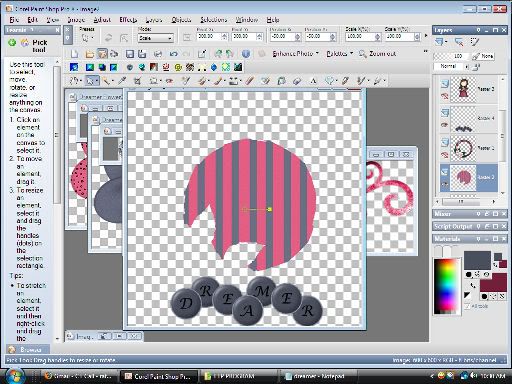
Grab your font tool stroke: #4b4f5d stroke width: 1 and fill: #74203b. Add your name and position it where you want it and add your drop shadow.
Add your copyrights. To curve your text, select your preset shape tool, eclipse, stroke any color and fill null. Draw a circle much larger than your creation.
the font tool will change to a curve icon when you click on the circle, type your text in a new vector layer. Then lower the opaquacy of your circle to 0 so all you see will
be the words
LET'S ANIMATE IT!
Click on your title and striped paper layer and apply the filter:
Save as frame 1 and hit the back button:

apply the filter again, and this time, hit random seed
repeat the above until you have as many frames as you want.
Open animation shop and using the animation wizard, set the frame properties to 15, and open all the frames you saved
Resize it to 500x500 and save it as a GIF file.
I HOPE YOU ENJOYED THIS TUT!

written by Merrilee Finney
©DezinesbyMerr
DO NOT COPY, please link to this site to share.
This tutorial is for personal use only, you may not profit from it.


0 comments:
Post a Comment